|
|
|
Cartoonifying a real picture Alot of you have seen my "cartoonified" works in the Photoshop threads. Many of you have voted on them. Some have not...(shame on you)! I am about to teach you all the simple way of creating these pieces of art. You will need the following ingredients for this how to: Macromedia Flash (any version) Adobe Photoshop or equivalent piece of software
Ok. Now that we have everything, we are ready to begin.
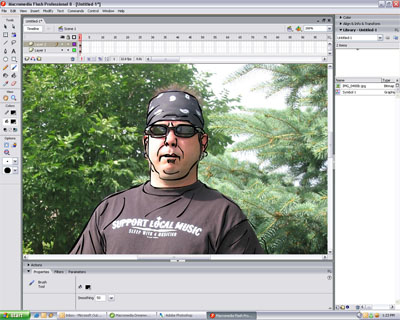
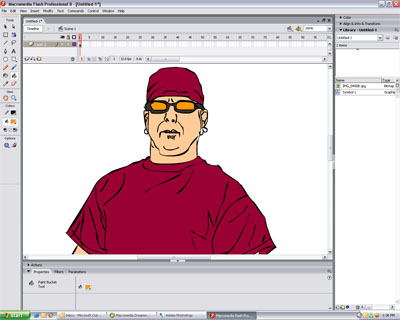
Step 1 - Grab the image you want to cartoonify. I will use a picture of myself. What the hell, it can't be that bad.
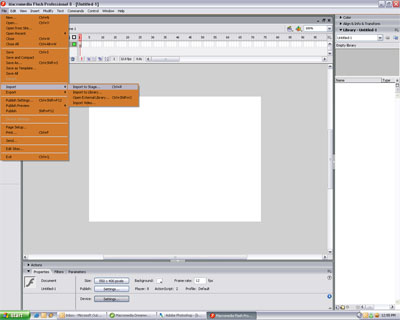
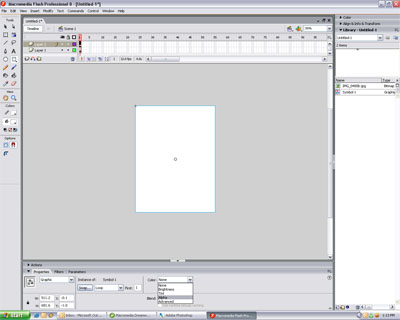
Step 2 - Open Macromedia Flash and import the image by selecting "File - Import - Import to stage"
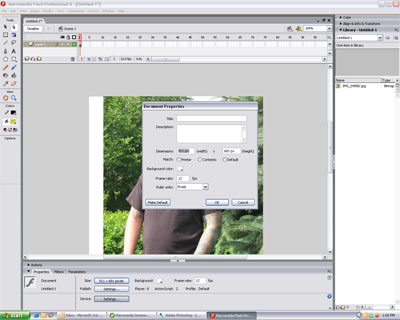
Step 3 - Once the image is in your workspace, you need to change the Flash background box to the same size as your image. You do this by selecting your image, notice the size in the bottom left corner of Flash. Move your image out of the way until you see your Flash background box. Click on this box. Notice the bottom toolbar changes. Select the size button and change it to the same as your image. Now line your image back up square with the Flash background box.
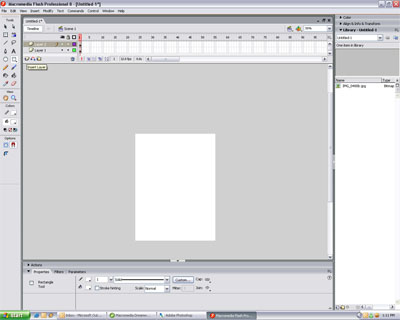
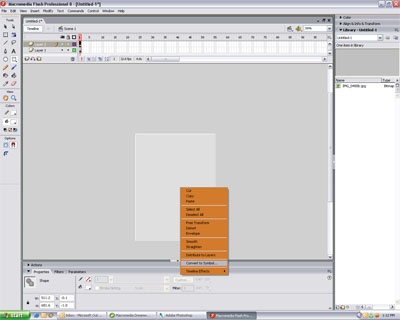
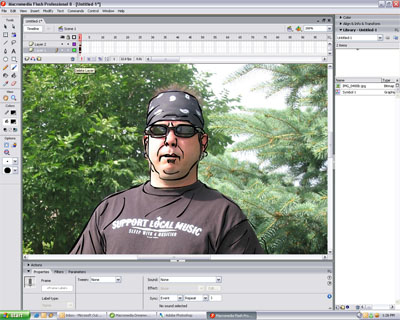
Step 4 - Creating your Alpha layer. Now we need to create a new layer and paste an Alpha box over the image. You do this by clicking on the "Insert layer" option in the layer toolbox above your image. Once the layer is created, click on the first timeline box next to the layer to be sure that is the layer you are working on. Then, click on the rectangle tool. Verify that your color for both outline and fill is white. Draw a rectangle to cover your entire image. Once the image is covered with this white box, right-click anywhere inside of the box and select "convert to symbol". A pop up will appear. Make sure the selection on the pop up is "Graphic". Click ok. Now, click on the white box and in the bottom toolbar you will see an option for Color with a drop down list next to it. Click the drop down and select Alpha. Set the Alpha to 0%.
Step 5 - Now the fun begins. Click on your paintbrush tool. Make sure black is selected for both line and fill. Select the size of the brush you want to use, but remember that the closer the zoom the smaller the line you will draw. This comes in handy for making prominent lines and detail lines. This step is all about mouse control. If you have a hard time writing your name in MSPaint (Heamer), this could be really difficult for you. ;P Patience... Patience... Patience.
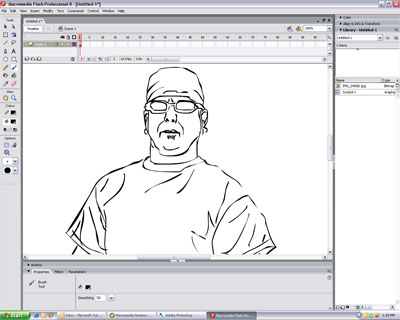
Step 6 - I am not going to do the whole picture. Just enough to give you an idea. After you have completed the outline and have the image how you like it, you can delete layer 1 which holds the original image.
Your image should now look something like this...
Step 7 - All that is left now is the coloring. Or, if you like the "coloring book" style leave it like it is. To color it, make sure all lines are connected in your drawing. If there is even a tiny gap, your paint bucket tool will bleed out to the next area. Use your paint bucket tool to color in all of the areas of your drawing until you are satisfied with it.
Step 8 - Once you are done, click on "File - Export - Export image" Save it as a JPEG or equivalent. You can now open Photoshop and resize it or add little touches here and there, but it really isn't neccessary. It's all about preferences at this point. Upload it and post it! And there you have it. Not as hard as it really looks. I guess my votes will now be much lower than normal now that you see it only takes a few minutes to complete an image. Have fun... and Happy farking!
kmcclinton71
|